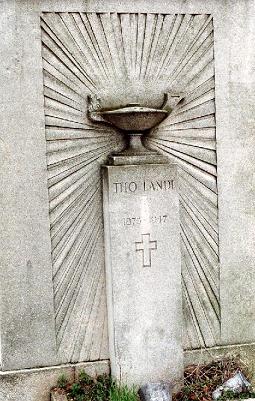
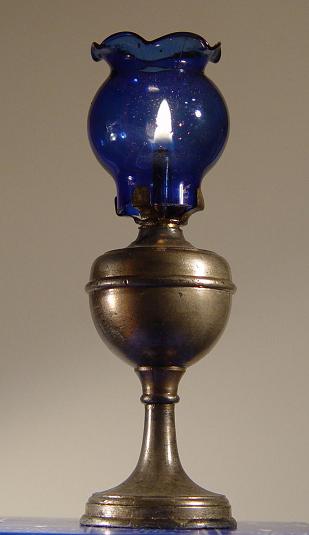
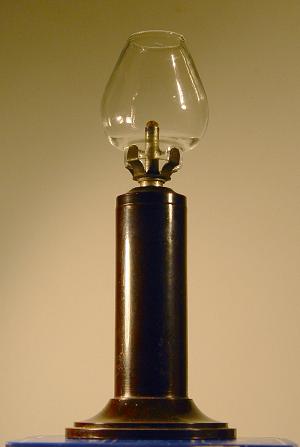
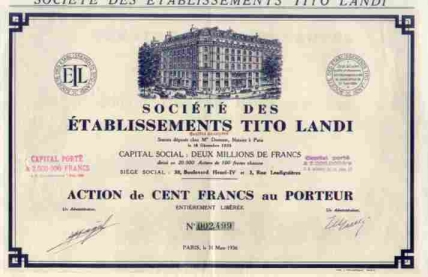
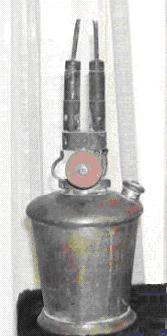
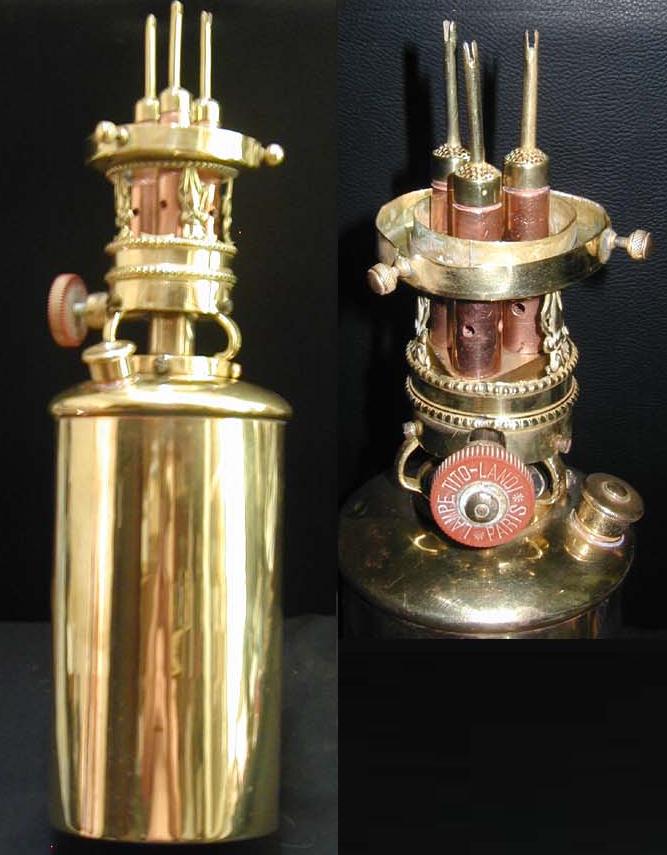
The Titus-Lamps were made by Augusto Tito-Landi (1873-1947), a Spanish citizen from San Sebastian living in Paris. The lamps were offered from 1898 until the company closed down in the 1970s. They are very common in France, but you must have some accessories if you want to have them in functioning condition.
First of all, you must check if the lamp you have is made for alcohol or unleaded gasoline = petrol (car fuel). The most reliable detail to tell is the injector's size: 0.3 mm - 0.4 mm for gasoline and 0.7mm - 0.8 mm for spirit (alcohol).
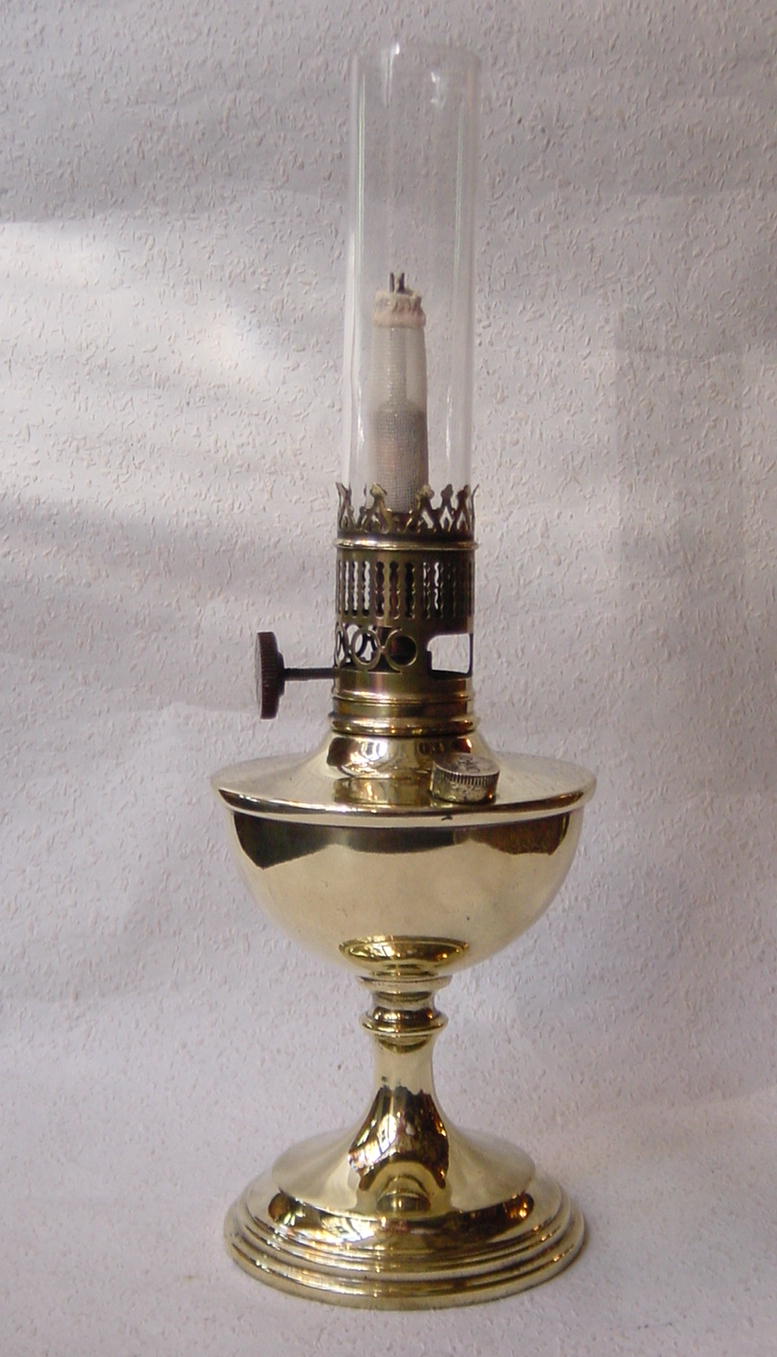
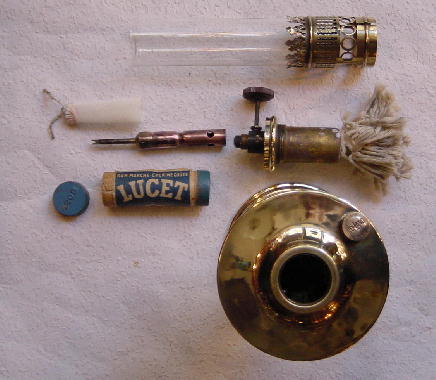
Then, you must have the small mantle-holder fork that fits into the hole in the center of the burner. It looks like a nail, but ending like a fork. Indeed, it can be made out of a nail if it is missing. The height of the fork is 36 mm above the heat transfer rod (recuperator-rod)
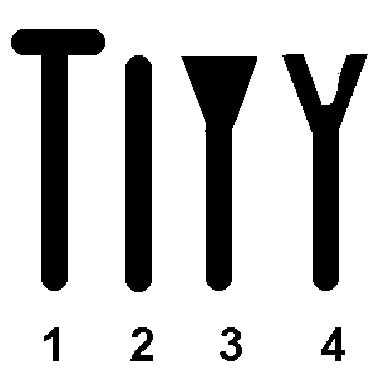
This fork holds an incandescent mantle, which is very hard to find today, but you can find and adapt, with some skill, soft mantles (bags) or use gaslight mantles supplied by Aladdin-lamp dealers. Caution: don't take large mantles for kerosene Aladdin-lamps, but gas mantles with the brand "Aladdin"!!
Fill with the correct fuel and let the wick be soaked completely (half an hour).
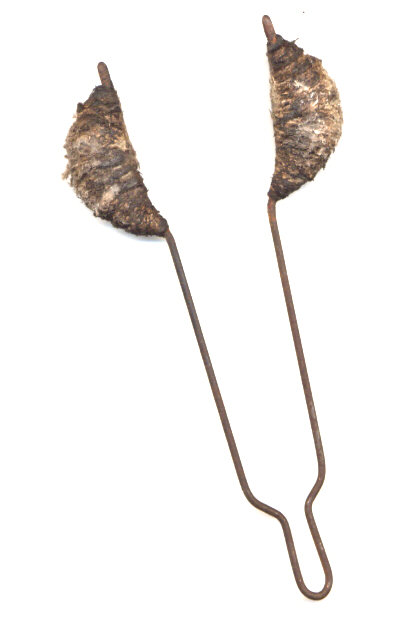
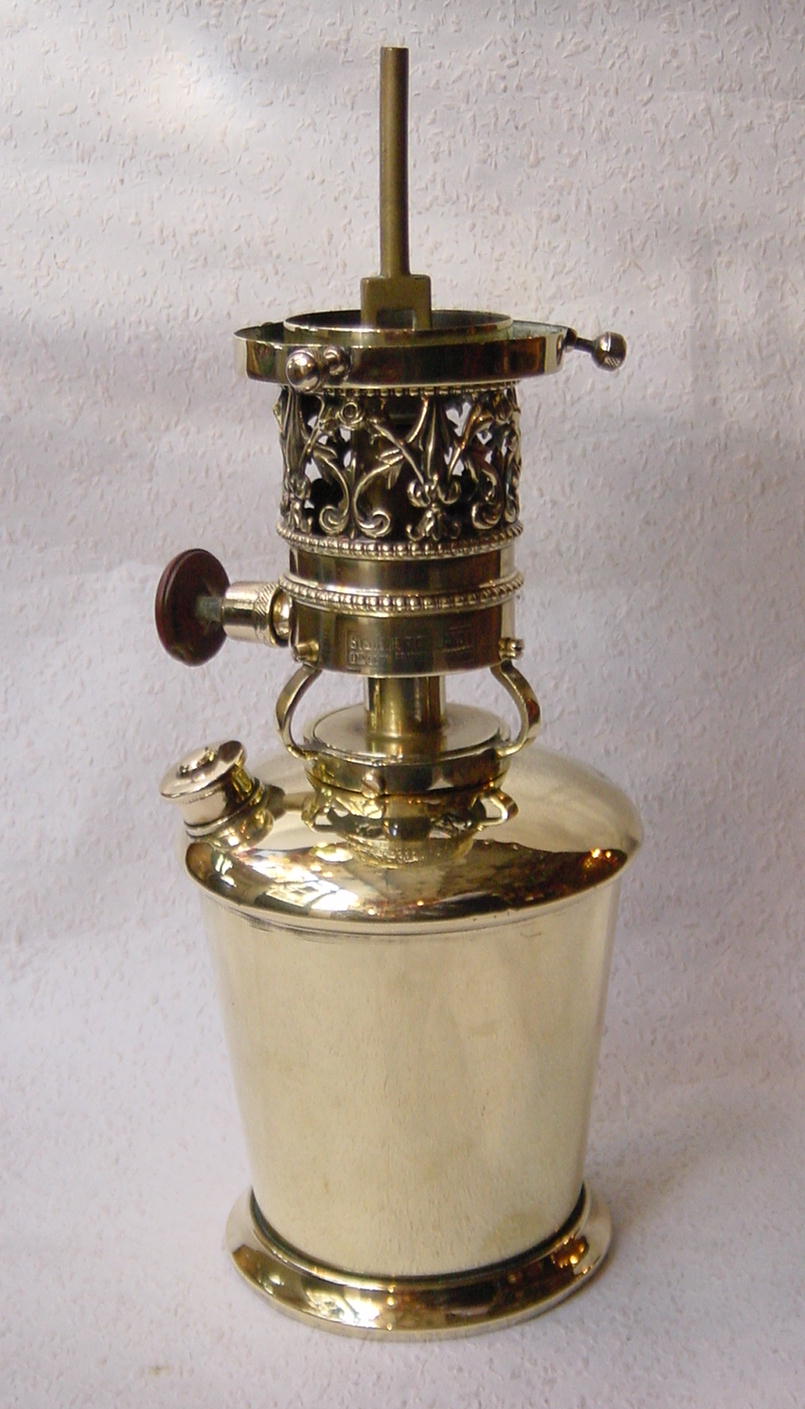
To pre-heat the burner, you must first open the valve and heat the burner tube with a soldering lamp unless you have an asbestos fork (illustration) made for that purpose. If you do have this fork, dip it in ALCOHOL (alcohol, even if the fuel inside the font is petrol/gasoline. Caution: all this is VERY dangerous, I don't advise you to light your lamps!!!).
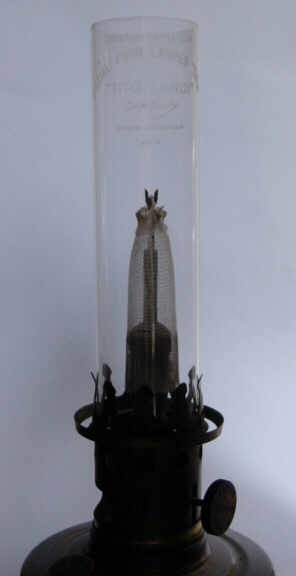
The asbestos fork for pre-heating is inserted through both large openings at the side of the gallery and as soon as you hear the vapor come out of the burner, you light the lamp from the top of the chimney. (If there is no gallery, so just put the fork around the burner).
Instructions for restoring the Tito-Landi Lamp to operational state:
When the Tito-Landi lamp does not give enough light (and requires repeated heating) because of the use of an impure fuel, it is easy to return it to operational state. The user can replace the wick and, if it is necessary, reopen the gas passages.
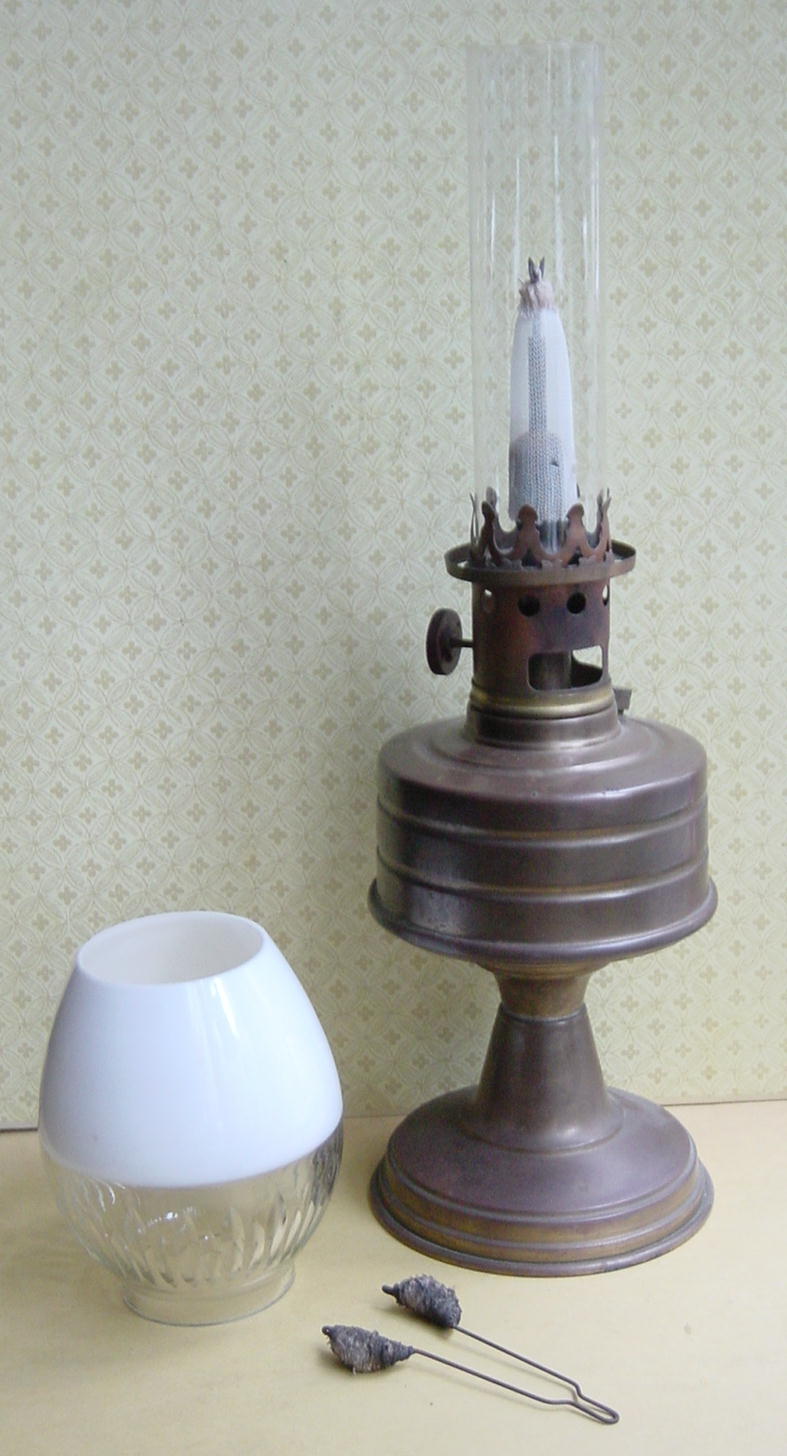
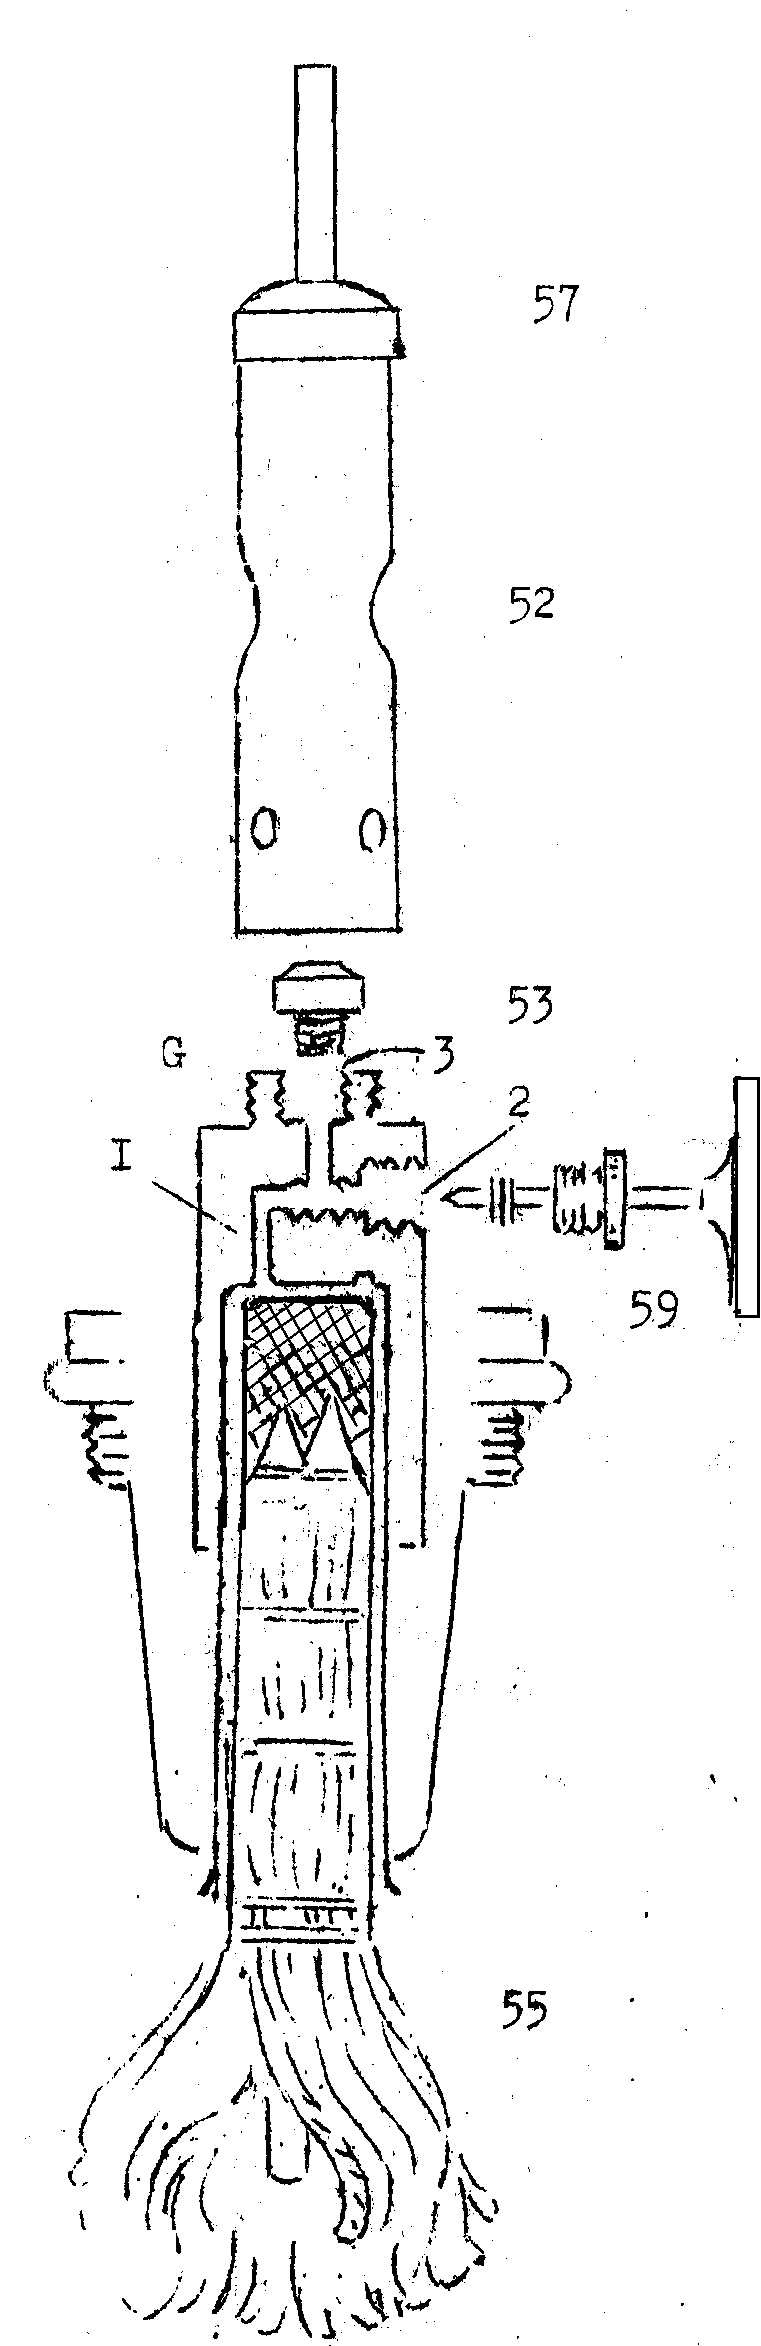
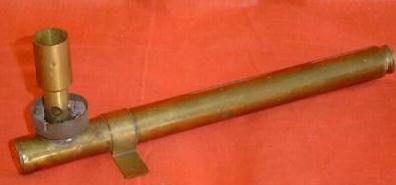
Removal of the old wick and checking gas passages: Remove the chimney and mantle (this last using a long thread or rod, handling it delicately, and down the rod, in order to reposition the mantle later on); also withdraw the chimney holding gallery, then unscrew the burner from the fount of the lamp. The wick (N° 55) appears at the base of the burner. To remove the old wick, twist it gently, while drawing it down and out with a light torsion movement. Carefully clean the tube where it was placed, so that there does not remain any piece of carbonized wick, grit or carbon deposits. Make sure that the gas passages (N° 1-2-3) are not blocked. (One must hear the passage of air when blowing into the gas port, when the main valve is opened. If they are blocked, see the directions at bottom of this page).
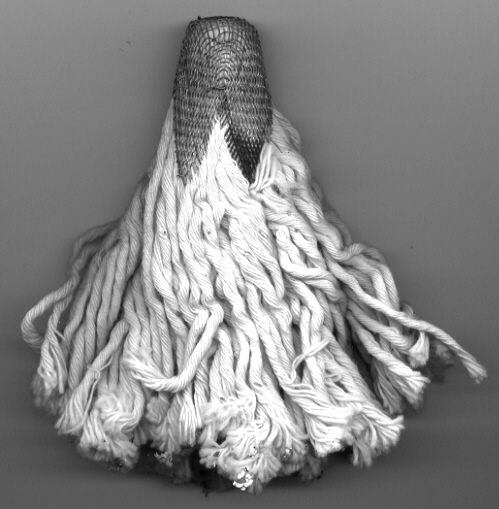
Inserting a new wick: (be sure to have the suitable wick for the fuel used: alcohol or gasoline). Insert the metal mesh into its shell and push upward by hand, assisting with a stick inside the wick fibers (this will have to be removed when the wick is seated). It is necessary to push the wick inward to the last point, so that the end of the wick is in contact with the bottom of the burner, as indicated in the sketch opposite.
To reassemble the apparatus: Simply reverse the instructions above. The first lighting will expel the air which is in the new wick; the second lighting will restore the lamp to full light intensity.
Clearing of the gas passages: Unscrew the burner top (N° 52) using pliers, placed on the level of the central choke, and then, also using pliers unscrew the injector. Brush the burner tip (N° 57) in the event of a whitish deposit. Clean the injector (N° 53) and free it from obstructions using the pricker needle. Unscrew the valve retaining nut, then the valve stem itself (while taking care not to lose the asbestos packing, which will have to be repositioned before reassembly. Take a thin wire and pass it successively:
1. into the passage at the bottom of the intake port, on the side;
2. into the passage at the bottom of the valve housing;
3. into the passage at the bottom of the gas tip (these three passages are numbered in the drawing).. Make sure, by blowing into each gas passage, that these holes are fully opened. Then insert the replacement wick as indicated above. Finish the reassembly of the burner, reversing the order of the steps above.
(Important: Tightly screw in the injector nut G and the rest of the burner parts, to ensure good heat conductivity. On the contrary, the retainer nut (59) holding the valve stem is only to be tightened moderately.)
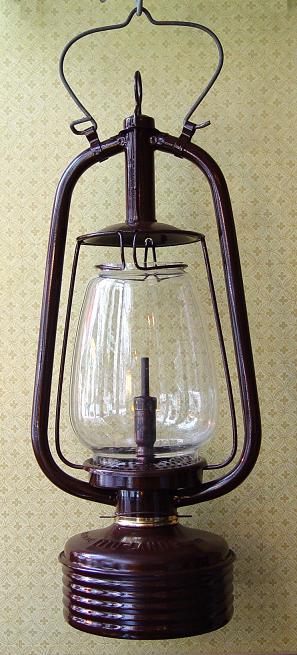
Opposite are two lanterns or hanging-lamps
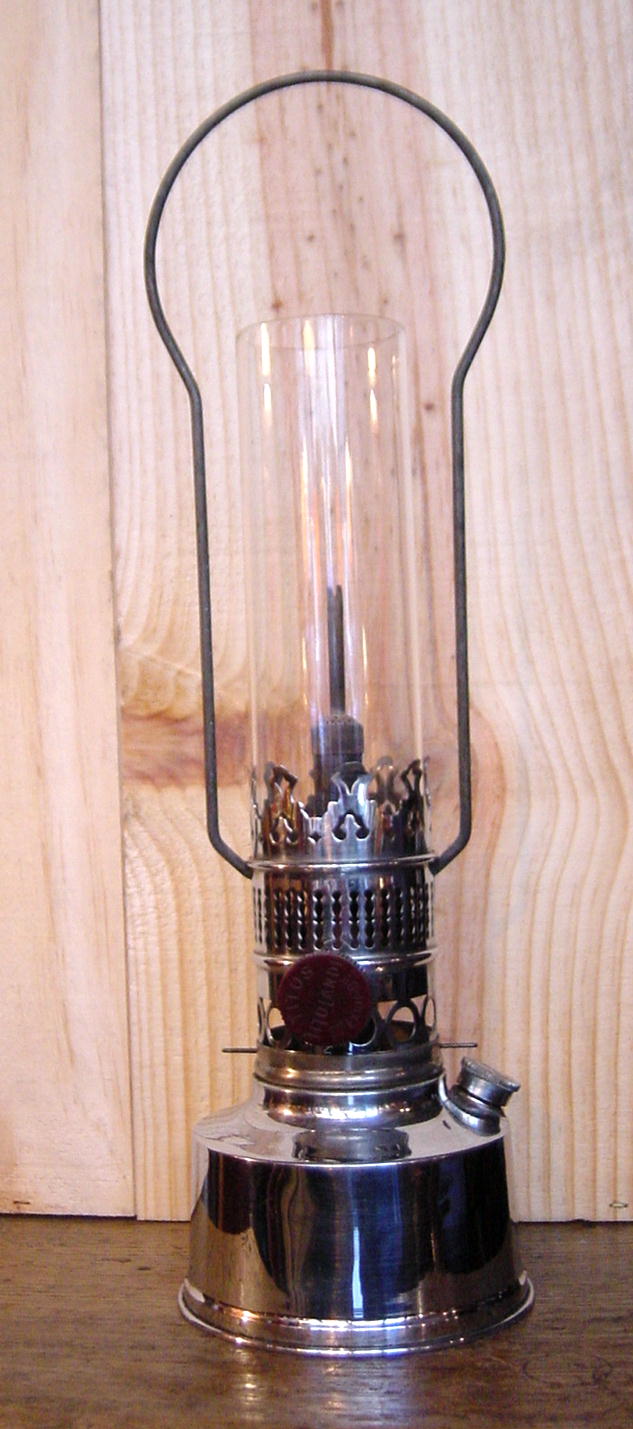
Below, the "Pip", a camper's lamp fo heating and lighting.

The artist represented on the tombstone an antique-styled oil lamp. Ironically, Tito-Landi made some of the most modern lamps of his time, none of which used this antique fuel.